
How to Blur a Crowd or Stranger While Keeping the Main Subject
Learn how to blur strangers and crowds in street, travel, and event photos while keeping your main subject sharp. A privacy-first workflow for candid photography.
October 23, 2026|Toolbox Image|#street-photography #crowd #privacy#image-tools
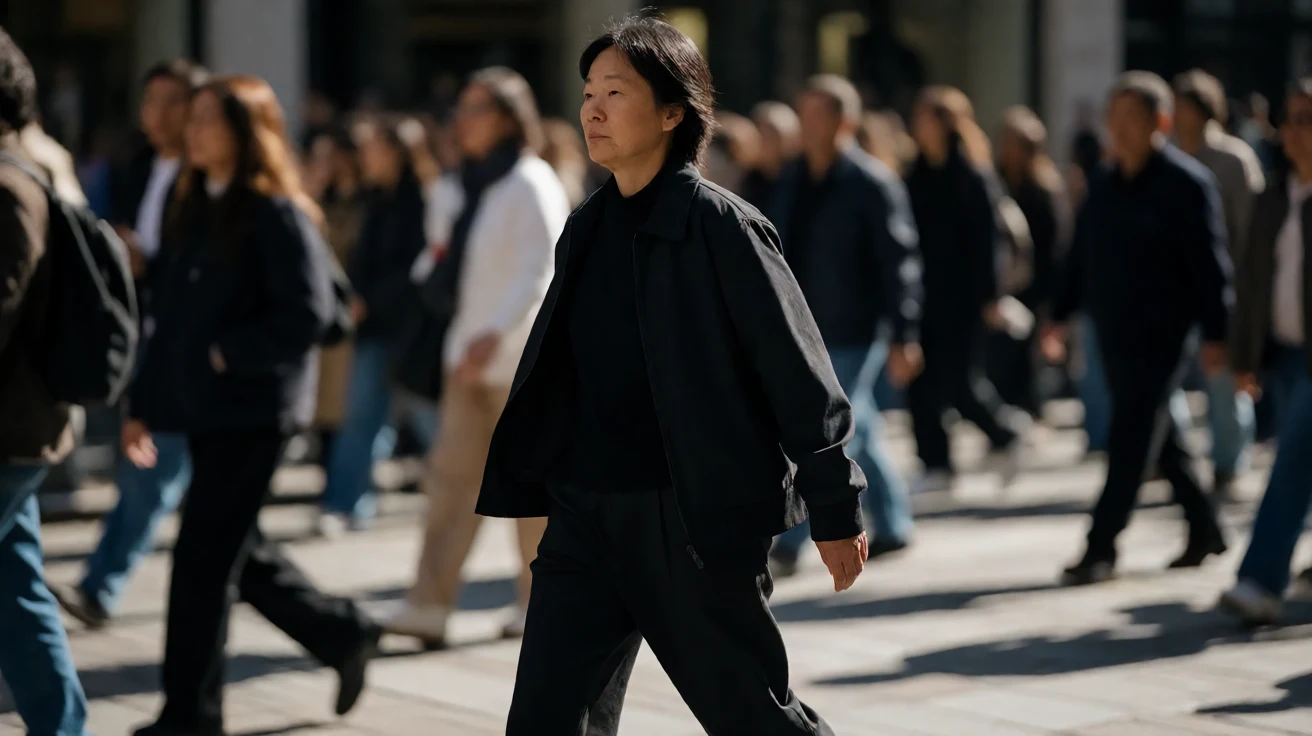
How to Blur a Crowd or Stranger While Keeping the Main Subject
You took the shot you wanted — a performer on stage, a quiet street corner, a friend against a city backdrop — but the frame also caught ten strangers who never agreed to be in your photo. Posting it as-is exposes people who have nothing to do with your story.
The fix is not to delete the photo. It is to blur the crowd and the strangers while keeping your main subject crisp. This guide shows a privacy-first workflow for street, travel, and event photography.
Quick Takeaways
-
Use Toolbox Image to blur crowds and strangers while keeping your subject sharp.
-
Blur the background people, not the focal point of the photo.
-
For many faces, start with auto face detection, then refine.
-
Keep the original private; share only the edited copy.
-
Use Compress Image Online if you need a smaller file to post.
Why Blur the Crowd but Keep the Subject
A photo’s story usually lives in one person, place, or moment. The strangers around it are context, not content. Blurring them:
-
Protects the privacy of people who did not consent
-
Keeps the composition and mood intact
-
Avoids the awkward crop that cuts out half the scene
-
Makes the subject stand out more, not less
This is different from blurring a group photo where everyone is the point. Here, the crowd is scenery, and scenery can be softened.
When to Blur Strangers in a Photo
Consider it when:
-
You are posting street or travel photography publicly
-
A performance, protest, or event filled the background with people
-
A stranger is reflected in glass or water
-
A passerby walked through a candid shot
-
You want the image online but not identifiable to anyone in it
If the photo is private or the people are clearly part of the story, you may not need to. The question is consent and exposure.
Blur the Background, Keep the Subject Sharp
The technique is selective blur: strong on the crowd, none on your subject.
Here is the workflow with Toolbox Image.
-
Open the blur tool and upload the photo.
-
Use box select or freehand to blur clusters of background people.
-
Leave a clear, unblurred area around your main subject.
-
For many faces, enable auto face detection to flag the crowd, then blur those regions.
-
Zoom in and check reflections, screens, and far-background figures.
-
Download the edited copy.
-
Share the version where the subject is clear and the strangers are not.
If the subject and a stranger overlap, use freehand to blur just the stranger’s face while preserving the subject’s edge.
Crowd vs. Single Stranger
| Situation | Approach |
|---|---|
| A single passerby | Blur that one face or figure |
| A dense crowd | Blur the whole background band |
| A reflected stranger | Blur the reflection, keep the scene |
| A stranger near the subject | Freehand blur just the stranger |
The goal is consistency: the background should read as “softened crowd,” not “one person mysteriously blurred.”
Use Cases
Street Photography
Cities are full of strangers. Blur the background crowd to keep your frame artistic and respectful.
Travel and Landmarks
Popular spots are packed. Soften the tourists around your subject so the place — not the people — is the star.
Events and Performances
Blur the audience while keeping the stage sharp. The energy stays; the identities do not.
Candid Family or Friend Shots
A public background may include strangers. Blur them so you can share the moment safely.
Tips for a Natural Look
-
Blur the entire background band rather than dotting single faces, which can look odd.
-
Match blur strength to distance: farther crowds can take a lighter blur.
-
Keep the subject’s surroundings (their chair, the wall behind them) sharp for contrast.
-
Preview at posting size; small displays hide a lot anyway.
-
If the crowd is very dense, a stronger blur reads as intentional depth, not censoring.
Common Mistakes to Avoid
Blurring the Subject by Accident
Keep a clear zone around your focal point. A blurred subject defeats the photo’s purpose.
Missing the Reflection
Strangers in windows, mirrors, and water count too. Scan shiny surfaces.
Forgetting Far-Background Faces
Tiny faces in the distance are easy to skip but still identifiable when zoomed.
Sharing the Original
Keep the unedited photo private; only the blurred copy should go public.
FAQ
Can I blur a crowd for free?
Yes. Use Toolbox Image to select and blur background people while keeping your subject clear.
Should I blur every stranger?
Blur the ones who are identifiable and unnecessary to the story. The aim is respect, not anonymity of the whole scene.
What if a stranger is near my subject?
Use freehand selection to blur just that person’s face, preserving your subject’s edge.
Is auto detection useful for crowds?
Yes. It flags many faces at once; then you blur the flagged background regions and refine the edges.
Can I keep the mood while blurring?
A consistent background blur reads as artistic depth, so the photo keeps its feel while protecting privacy.
Final Thoughts
A great candid photo should not come at the cost of strangers’ privacy. You can keep your subject sharp and your story intact while softening everyone who happened to be there.
Open Toolbox Image, blur the crowd, keep the subject, and share a photo that respects everyone in the frame.
Related image editing guides
Blur Faces Online: A Practical Privacy Guide
Learn how to blur faces before sharing photos and protect identities in public images.
Auto-Detect and Blur Faces in Photos
A step-by-step privacy workflow using automatic face detection for crowded shots.
Blur Part of an Image Online
A practical guide to blurring one region of a photo while keeping the rest clear.
Blur the Background of a Photo
Learn how to blur a photo background to focus attention on the subject.