
How to Crop and Rotate an Image Before Posting It Online
Learn how to straighten a tilted photo, crop to the right aspect ratio, and remove private edge details before posting an image to a listing, profile, or social feed.
November 4, 2026|Toolbox Image|#crop-image #rotate-image #photo-editing #image-tools
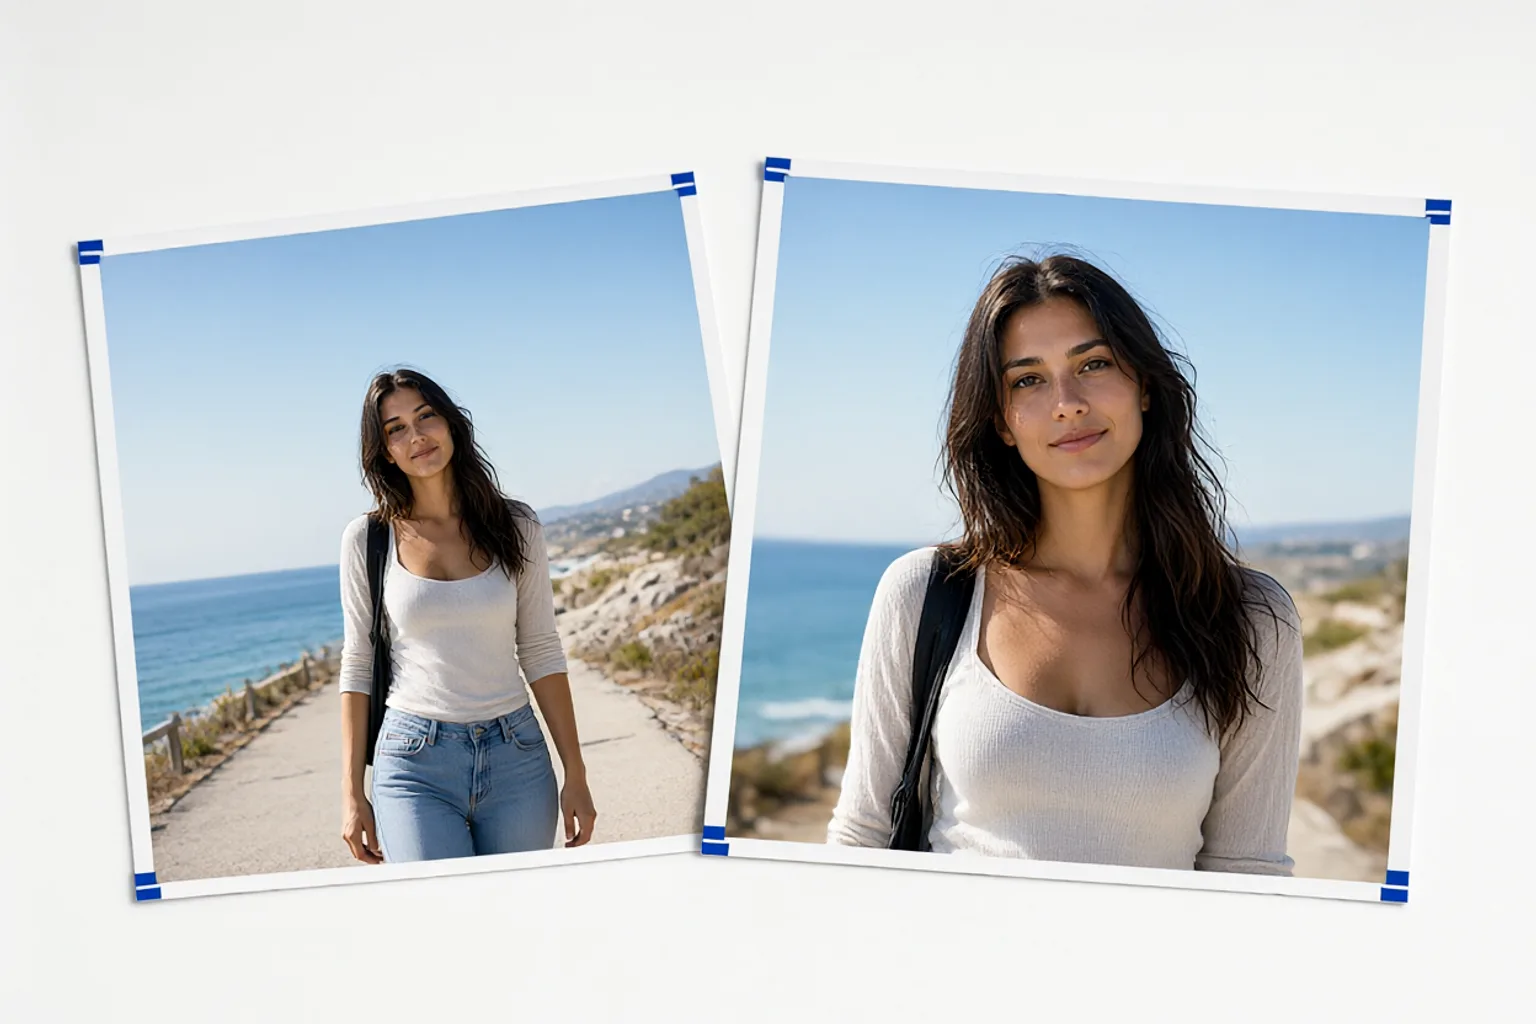
How to Crop and Rotate an Image Before Posting It Online
Crop and rotate are the two edits that make the biggest difference with the least effort. A slightly tilted horizon reads as an amateur snapshot even when the lighting is good, and a loose frame dilutes the subject you wanted people to look at. Fix both before you post, and the same photo looks deliberate.
There is a privacy angle too. The edges of an untrimmed photo are where the stray details live: a house number, a laptop screen in the corner, a reflection in a window, someone who did not agree to be in the picture. Cropping them out is often cleaner than blurring them later.
Quick Takeaways
-
Use Crop & Rotate to straighten the horizon and trim the frame in one pass.
-
Pick the aspect ratio of the destination first — 1:1 for a profile, 4:5 for a feed post, 16:9 for a header.
-
Crop out private edge details before you think about blur; removal is safer than masking.
-
Rotate in small increments, then crop again to remove the empty triangular corners.
-
Export at the size the platform expects, or use Resize Image Online afterwards.
Start From the Destination, Not the Photo
The most common mistake is cropping to whatever looks nice at full size, then letting the platform crop again. Social feeds, marketplace listings, and profile avatars all cut images differently. Decide the shape first:
| Where it goes | Shape | What usually gets cut |
|---|---|---|
| Profile picture / avatar | 1:1, often displayed as a circle | Anything near the corners |
| Feed post | 4:5 or 1:1 | Top and bottom on some feeds |
| Story or vertical banner | 9:16 | Both sides |
| Blog header / cover | 16:9 or 3:2 | Top and bottom |
| Marketplace listing | 4:3 or 1:1 | Depends on the gallery |
Keep the subject inside the safe area of that shape. If the face is near the edge of a 1:1 crop, a circular avatar will slice it.
Step-by-Step: Straighten, Trim, and Export
-
Open Crop & Rotate and load the photo.
-
Find a reference line — a horizon, a door frame, a table edge. Rotate until that line is level. Small corrections of one or two degrees are usually enough.
-
Check the corners. Rotation leaves empty wedges; crop in slightly so no blank triangle survives.
-
Choose the destination aspect ratio and drag the crop box so the subject sits where the platform will keep it.
-
Scan the four edges for private details: an address on a package, a screen, a plate, a bystander. Tighten the crop to remove them.
-
Zoom to 100% once and check that the subject is still sharp. A tight crop magnifies any motion blur.
-
Export at the original resolution if you can. If the platform has a file size limit, use Compress Image Online on the exported copy.
-
If you need several versions of the same photo, save the full-resolution original and crop a fresh copy for each destination.
Crop vs. Blur for Private Details
Both remove information, but they do it differently. Cropping deletes the pixels; blur hides them in place.
Use crop when:
-
The private detail sits near an edge and is not part of the story
-
You are already trimming to a new aspect ratio
-
You want a clean-looking photo rather than a visibly edited one
Use blur when:
-
The detail is in the middle of the frame
-
Removing it would break the composition
-
The surrounding context still matters
When a detail is sensitive — an ID number, a signature, a face — prefer removal. A solid block is the next safest option; see blur vs. redact and our censor a photo guide.
Common Mistakes to Avoid
Over-Rotating to Make a Line Perfectly Level
Chasing a mathematically straight horizon can push the subject off-centre. Level the strongest line, then stop.
Cropping Too Tight Before Resizing
A tight 1:1 crop of a low-resolution phone photo can look soft when scaled up. Leave a little breathing room.
Forgetting the Platform’s Second Crop
Uploading a wide 16:9 image to a square gallery means the platform decides what to cut. Do that crop yourself.
Leaving Private Details at the Edge
A reflection, a label, or a bystander at the border is easy to miss at full-screen view. Zoom out and check all four edges.
Editing the Only Copy
Always keep the original. Re-cropping a cropped JPEG loses quality each time.
FAQ
Can I crop and rotate an image for free online?
Yes. Crop & Rotate works in the local editor with no signup and no upload.
What aspect ratio should I use for a profile picture?
1:1, with the face centred and away from the corners, because many platforms display it as a circle.
Should I crop or blur a license plate in the background?
Crop it out if it is near an edge. If it sits in the middle, blur or block it — see the license plate guide.
Does rotating reduce image quality?
A single 90-degree rotation is lossless for most formats. Small freehand rotations resample the image slightly, so export at the highest practical resolution.
What if I need the same photo in three shapes?
Keep the original, then export a separate cropped copy for each destination. Do not crop an already-cropped file.
Should I crop before or before removing metadata?
Crop first, then strip EXIF from the exported copy — see how to remove metadata from photos.
Final Thoughts
Straighten the line, choose the destination shape, trim the edges, and export. Four small decisions turn a snapshot into an image that looks intentional — and remove a surprising amount of private detail along the way.
Open Crop & Rotate, then use Resize Image Online or Compress Image Online if the platform needs a specific size.
Related image editing guides
Resize Images Online
Match exact pixel dimensions without stretching the photo.
Compress Images Online
Reduce file size for uploads without a visible quality hit.
How to Make a Blurred Background Cover or Banner
Build a soft, on-brand background for headers and profiles.
Blur Photo Background Online
Keep the subject sharp while softening everything behind it.