
How to Blur Reflections That Leak Private Details in Photos
Learn how to find and blur privacy leaks hidden in eyeglasses, windows, screens, and glossy surfaces before sharing a photo or screenshot online.
November 4, 2026|Toolbox Image|#photo-privacy #reflections #blur-image#image-tools
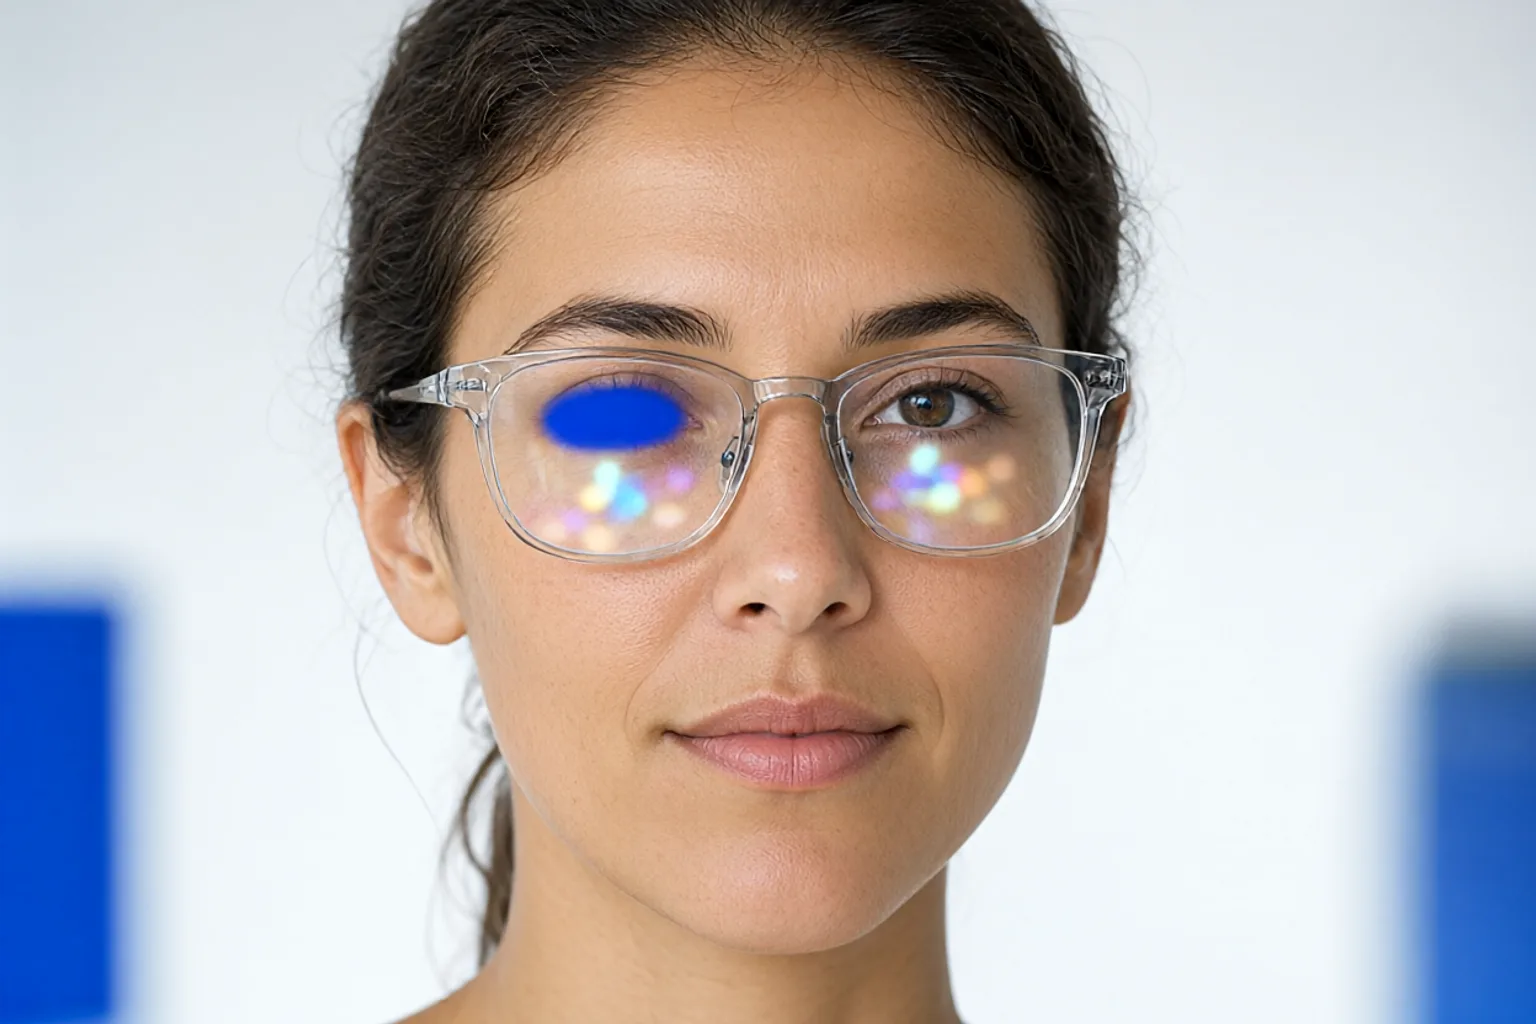
How to Blur Reflections That Leak Private Details in Photos
You checked the background, covered the name badge, and blurred the license plate. Then someone points at the glasses: in the lens there is a tiny but readable reflection of a laptop screen. Or the shop window behind you shows the street sign with your house number. Or the glossy framed photo on the wall mirrors your desk and everything on it.
Reflections are the privacy leak people almost never check, because they are small and easy for the eye to skip. They are also usually easy to fix once you know where to look. This guide is a short inspection routine plus the selection tricks that keep the rest of the photo intact.
Quick Takeaways
-
Zoom to 100% and inspect every shiny surface before sharing: glasses, windows, screens, mirrors, glossy frames, and chrome.
-
Use Toolbox Image with a tight box or freehand selection to blur just the reflected area.
-
If the reflection is near an edge, crop it out with Crop & Rotate — removal beats masking.
-
Small high-contrast reflections are surprisingly readable at full resolution, so use a solid block for anything that looks like text.
-
Do a final pass at the size the image will be posted; small details can reappear when the whole photo is scaled.
Where Reflections Hide
| Surface | What it can show | How to handle it |
|---|---|---|
| Eyeglass lenses | A monitor, a phone, a room layout | Tight freehand blur on each lens |
| Windows and glass doors | Street signs, plates, interiors | Blur the pane, or crop the frame |
| Laptop or TV screens | Notifications, names, open tabs | Solid block over the screen area |
| Mirrors | The photographer, the room, other people | Blur the mirror region generously |
| Glossy frames and acrylic | A distorted copy of the desk | Blur the whole reflective panel |
| Car paint and chrome | Plates, bystanders, building names | Blur or crop the panel |
| Water, tiles, polished stone | Shapes, occasionally text | Usually low risk; check at 100% |
The pattern is simple: anything smooth and shiny acts as a second, smaller camera. If you would not post what is in front of it, check what is inside it.
Step-by-Step: Find and Blur Reflections
-
Open the photo at 100% zoom, not fit-to-screen. Small reflections disappear when the image is shrunk.
-
Sweep the frame systematically: top-left to bottom-right, looking only for shiny surfaces. Do this before you judge the photo as a whole.
-
Mark each reflection that contains recognisable shapes, text, or a face. Ignore soft colour smudges that carry no information.
-
Open Toolbox Image and load the image. Zoom in on the first reflection.
-
For a lens or a small screen, use freehand selection to trace the shape. Apply a solid block if the reflection contains text, or a medium blur if it only shows shapes.
-
For a rectangular window or monitor, use box select and cover the whole pane rather than part of it — partial coverage leaves a readable strip.
-
Move to the next reflection. Resist the urge to blur large surrounding areas; tight selections keep the photo looking natural.
-
Zoom out to the size the platform will display, then zoom back to 100% once more and check the edges of every selection.
-
Download the edited copy and keep the original private.
If the reflection is right at the edge of the frame, skip the blur entirely and crop it out. See crop and rotate before posting for a straightening workflow.
Blur or Block a Reflection?
Reflections are usually small and high contrast, which is the worst case for a light blur. A few pixels of soft blur can leave the outline of a word or a face readable.
-
Solid block for any reflection containing text, a notification, a plate, or an identifiable face.
-
Strong pixelation when you want the reflected object to still read as “something was there” without detail.
-
Medium blur for soft shapes, room layouts, and colour smudges with no readable content.
The blur vs. redact guide covers the same decision for documents, and the pixelate vs. blur guide explains why mosaic squares can still be reconstructed from text.
Common Mistakes to Avoid
Checking Only at Fit-to-Screen Size
A reflection that looks like a white smudge at 25% can contain a readable badge at 100%. Always inspect at full resolution.
Blurring the Lens but Not the Frame
Eyeglass reflections often extend into the frame or the surrounding highlight. Cover the whole reflective surface, not just the brightest spot.
Leaving a Readable Strip
Box-selecting part of a window leaves the rest sharp. Cover the entire pane or crop it out.
Using a Semi-Transparent Overlay
A translucent marker in a photo editor still shows what is underneath. Apply an opaque blur or a solid block to the pixels.
Forgetting the Second Photo in a Set
If you took ten shots in the same room, the same screen is likely reflected in several of them. Check every image you plan to post.
FAQ
Can I blur a reflection for free online?
Yes. Toolbox Image runs client-side with no signup. Trace the region with freehand selection, apply blur or a solid block, and download.
Are reflections really readable in a normal photo?
Often, yes — phone cameras now capture enough resolution that a monitor reflected in a lens can show large text. It depends on the angle, the light, and the distance, so check rather than assume.
Should I blur the whole pair of glasses?
Only the reflective part of each lens. Blurring the entire face changes the photo more than necessary.
What if the reflection is in a mirror showing me?
Blur the mirror region generously, or crop it out. If the mirror shows a full person, treat it like a face and see how to blur multiple faces.
Can I fix this after posting?
You can replace the image, but you cannot recall copies that were downloaded. Redact before the first upload.
Does stripping EXIF help?
It removes location and device data, but not anything visible in the reflection. Do both — see how to remove metadata from photos.
Final Thoughts
Reflections are small, which is exactly why they get missed. A thirty-second sweep of every shiny surface at 100% zoom is usually enough to find the one that matters.
Open Toolbox Image, use tight freehand selections for lenses and box selections for panes, and export a copy that does not include a second, hidden photo of your desk. For the broader pre-share routine, the privacy checklist covers the rest.
Related image editing guides
Blur a Photo Background Online
Soften a busy background while keeping the subject sharp.
How to Auto-Detect and Blur Faces in Photos
A faster first pass when a photo contains several people.
How to Blur a Logo, Watermark, or Text Overlay
Remove identifying marks that sit on top of an image.
How to Prepare Images for Email and Messaging Privacy
A pre-send checklist for photos attached to messages.