
Crop, Resize, or Blur First? The Right Order Before You Share a Photo
The order of operations matters. Learn why you should crop first, mask privacy details at full resolution, then resize and compress for export.
November 5, 2026|Toolbox Image|#image-workflow #image-editing#resize-image #image-tools
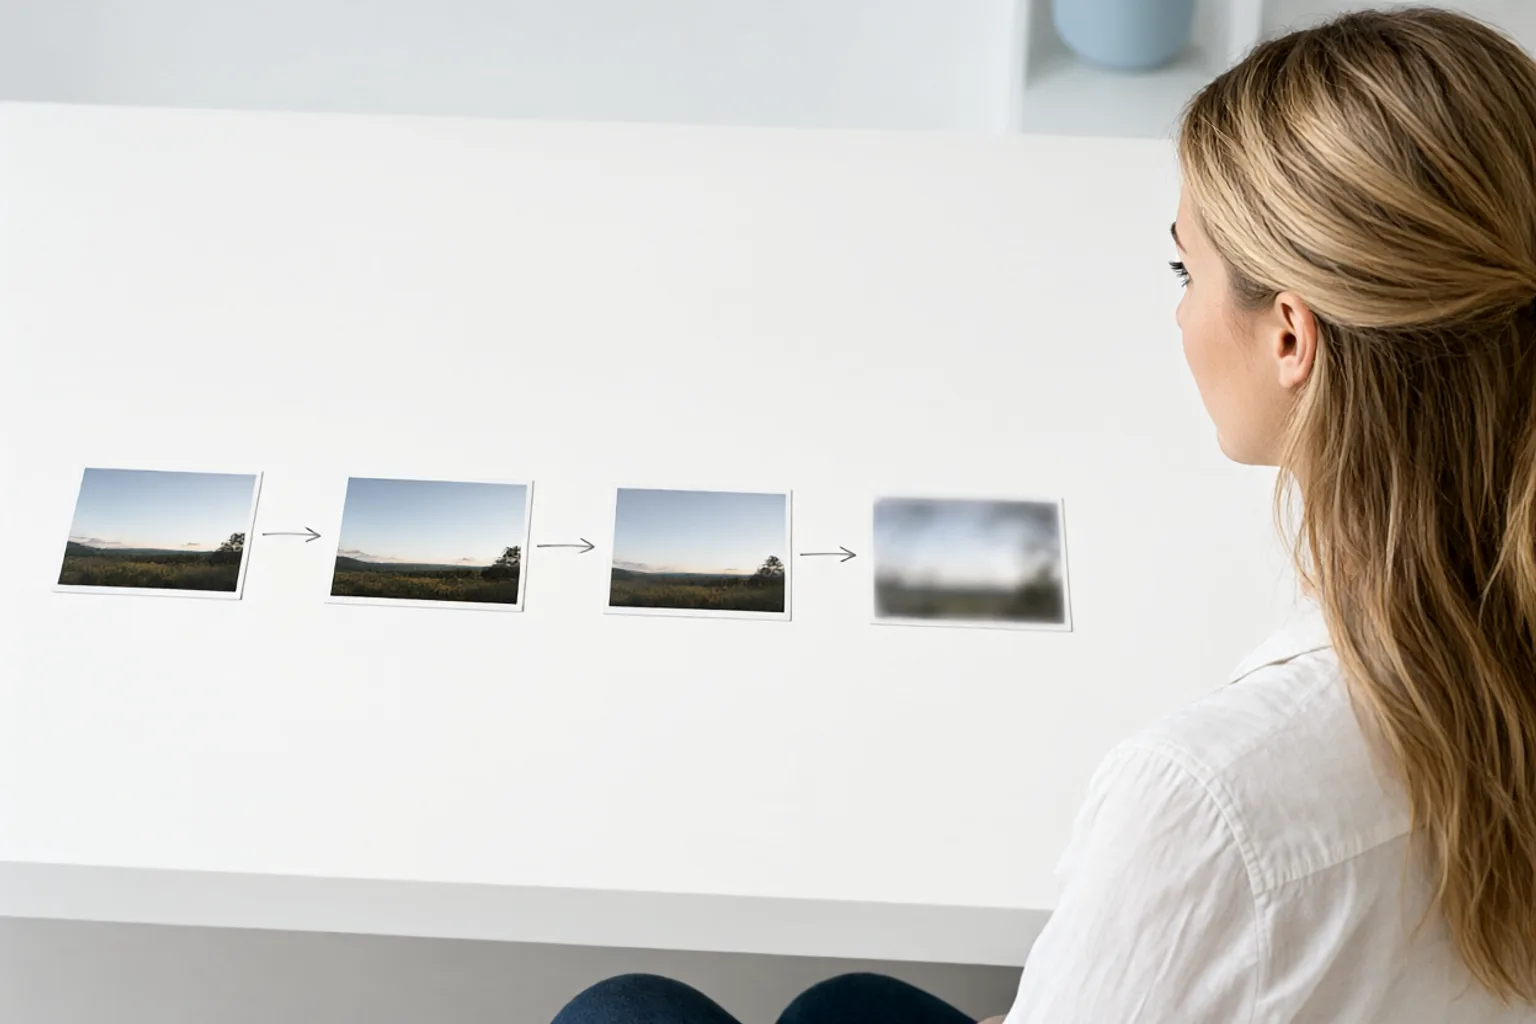
Crop, Resize, or Blur First? The Right Order Before You Share a Photo
Most people do these three edits in whatever order the app presents them. That usually means: shrink the image for the platform, notice a name in the corner, apply a quick blur to the small version, then export a JPEG. It looks fine on a phone. At full size, the name is still visible.
Order matters because every step changes the pixels the next step works on. Crop changes the frame, resize throws away detail, blur destroys detail deliberately, and compression adds artefacts on top. Here is the sequence that keeps both quality and privacy intact.
Quick Takeaways
-
Crop and straighten first — you cannot judge what needs masking until the final frame is set.
-
Blur at full resolution, before any downscaling; small text needs the original pixels to be masked properly.
-
Resize and compress last, once the sensitive areas are already gone.
-
Use Crop & Rotate, Toolbox Image, then Resize Image and Compress Image in that order.
-
Always export a copy and keep the original private.
Why the Order Matters
| Step | What it does to pixels | Why its position matters |
|---|---|---|
| Crop / rotate | Removes areas, may interpolate slightly | Deletes private details outright — do it before masking |
| Blur / redact | Destroys detail inside a selection | Needs maximum resolution to judge strength |
| Resize | Discards pixels, may re-sharpen edges | Shrinking before masking loses the detail you needed to see |
| Compress | Adds artefacts, reduces file size | Should be the final destructive step, applied once |
The subtle trap is resizing before blurring. Downscaling turns a line of small text into a handful of high-contrast pixels. A light blur on that small version can leave the word shape intact, and the platform’s own re-encoding may sharpen it again. Masking at full resolution gives you a much larger safety margin — see how much blur is enough.
The Recommended Workflow
-
Open the original at 100% zoom. Do not judge privacy from a thumbnail.
-
Crop and straighten. Fix the horizon, cut distracting edges, and remove anything private that sits near the frame border. Crop & Rotate handles both; the crop and rotate before posting guide walks through the framing decisions.
-
Sweep the final frame for identifiers. Names, plates, screens, badges, reflections, documents. Work in the cropped frame only — masking an area you later crop away is wasted effort.
-
Mask at full resolution. Load the image into Toolbox Image. Use box select for rectangles, freehand for angled objects, and a solid block for anything machine-readable. Keep each selection slightly larger than the content.
-
Check at two zooms. At 100% for leftover letter shapes, then at the intended display size for stray fragments at selection edges.
-
Resize for the destination. Use Resize Image to match the platform’s recommended dimensions; see the resize image guide for aspect-ratio and quality considerations.
-
Compress once, at the end. Compress Image reduces the file size after all other edits. Repeated JPEG saves accumulate artefacts — the compress image guide covers the format choices.
-
Export a new copy. Never overwrite the original, and check the exported file rather than the editor preview.
-
Strip metadata if needed. Blurring and resizing do not remove EXIF location data — see how to remove metadata from photos.
When the Order Should Change
| Situation | Better sequence | Reason |
|---|---|---|
| A private detail sits at the very edge | Crop only, skip the blur | Deletion is stronger than any mask |
| You must hit a strict file-size limit | Crop → blur → resize → compress once | Compression stays the single final step |
| The source is already a small screenshot | Blur first, then crop | Screenshots have little resolution to spare |
| You are preparing a set of similar photos | Crop → save a template → mask each | Consistency across the set matters more |
| The image will be printed, not posted | Mask at full resolution, do not downscale | Print needs every pixel you have |
The constant across all of these: mask before the last destructive export.
Common Mistakes to Avoid
Blurring Before Cropping
You spend time masking a corner that the final crop removes. Set the frame first, then mask what is still visible.
Resizing First “To Make It Easier”
A smaller canvas is easier to look at but harder to redact safely. Keep the full-resolution original for the masking step.
Saving a JPEG After Every Step
Each save compounds artefacts around blur edges. Work in one session and export once.
Forgetting Reflections and Background Screens
The workflow is only as good as the sweep in step 3. See how to blur reflections for shiny surfaces.
Assuming the Platform Will Strip Metadata
Some do, some do not. Handle it yourself before uploading.
FAQ
Can I do all of this for free online?
Yes. Crop & Rotate, Toolbox Image, Resize Image and Compress Image all run in the browser with no signup.
Does cropping remove the hidden data from the file?
It removes those pixels from the exported image, but embedded metadata may still be present. Export a fresh copy and check EXIF separately.
Should I blur before or after compression?
Always before. Compression artefacts around a mask edge can make the boundary look odd, but more importantly a lightly blurred region is easier to recover from a clean file than from a noisy one — do not rely on compression for privacy.
What if I already resized and blurred the small version?
Go back to the original and redo the mask at full resolution. A weak blur on a downscaled image is not something you can safely strengthen later.
How do I pick the blur strength?
Match it to the size of the detail you are hiding. Small print needs a much stronger mask than a face — the full rule is in how much blur is enough.
Is there a checklist for the whole pre-share routine?
Yes — the privacy checklist covers the sweep that sits between cropping and masking.
Final Thoughts
A clean pre-share edit is a sequence, not a collection of random fixes: set the frame, remove what you can, mask what remains at full resolution, then size and compress once.
Start with Crop & Rotate, do the privacy pass in Toolbox Image, and finish with Resize Image and Compress Image. Your exported copy will be smaller, sharper and actually private.
Related image editing guides
Resize Image Online
Match platform dimensions without losing aspect ratio.
Compress Image Online
Reduce file size as the final export step.
How Much Blur Is Enough
Choose a strength that actually hides the detail.
Blur a Photo Before Sharing
A compact privacy checklist for everyday photos.