
Blur Multiple Faces in a Group Photo: A Practical Workflow
A practical workflow for blurring several faces in a group photo while keeping the moment intact. When to blur, how to stay consistent, and how to avoid missing anyone.
October 12, 2026|Toolbox Image|#blur-face#privacy#group-photo#image-tools
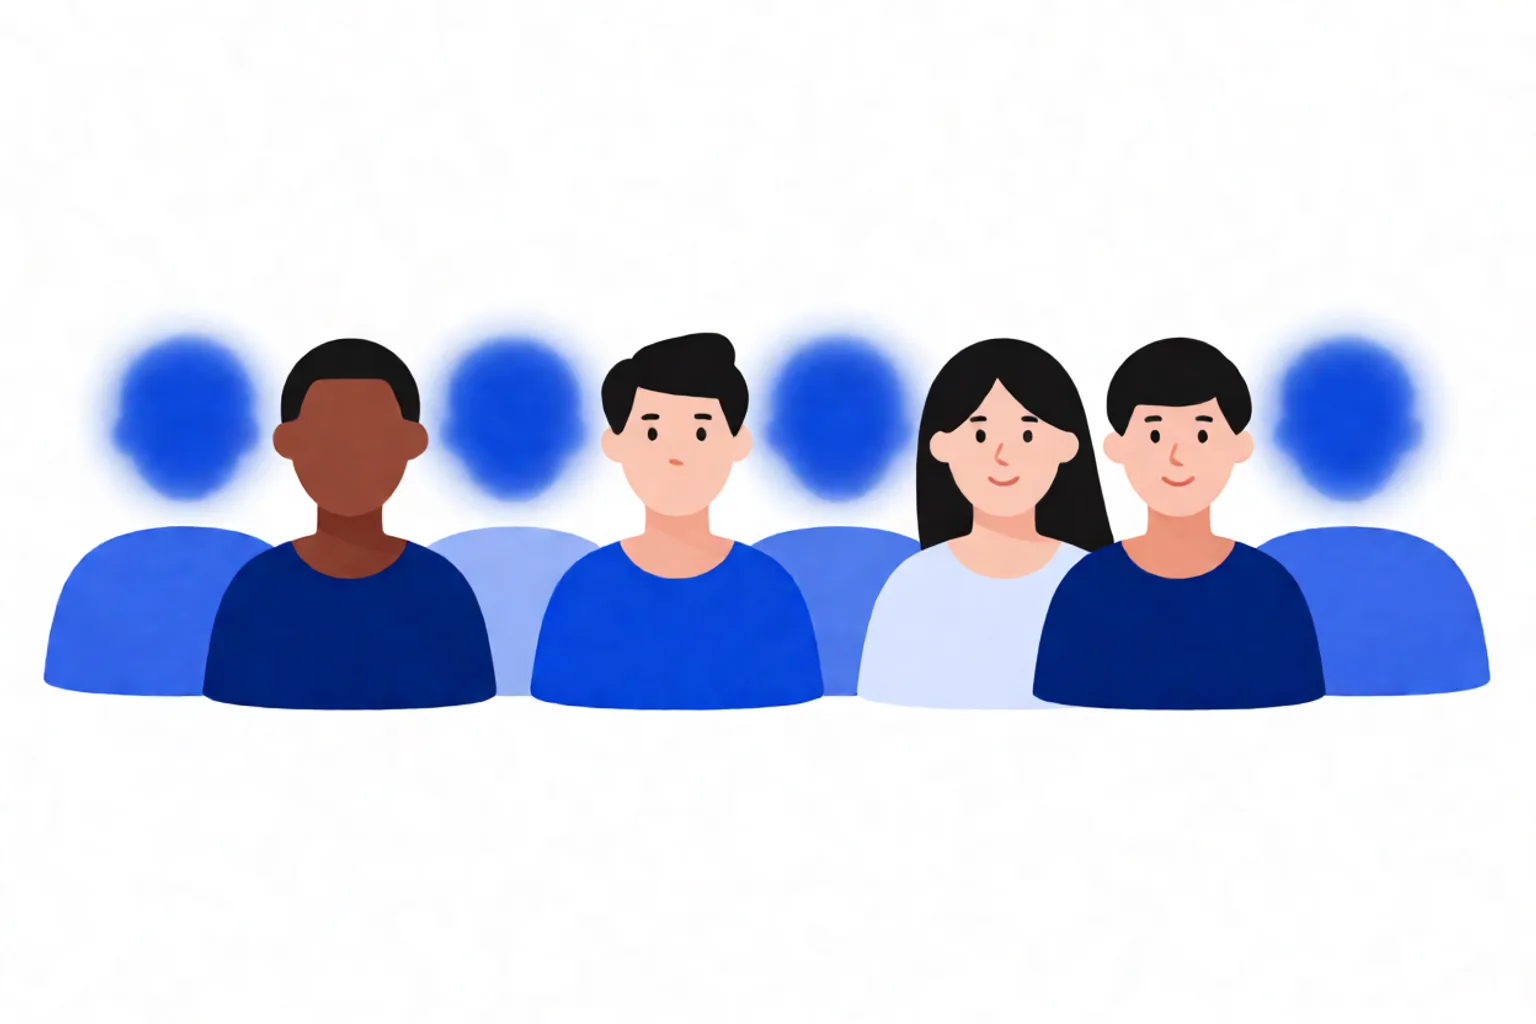
Blur Multiple Faces in a Group Photo: A Practical Workflow
A group photo is the hardest kind of image to share safely. Ten people, five you can name, five you cannot, a couple of minors, and a stranger in the back. Posting it as-is risks exposing people who never agreed to be public.
Blurring multiple faces does not mean damaging the photo. Done well, it keeps the moment and removes the identities that should not travel. This guide is a practical workflow for group shots.
Quick Takeaways
-
Use Toolbox Image to blur each face in a group photo from your browser.
-
Start with auto face detection for large groups, then refine by hand.
-
Use stronger blur for close-ups, children, customers, and strangers.
-
Blur everyone you cannot name or did not get consent from.
-
Always check reflections, screens, and the far background before downloading.
Decide Who to Blur
You do not have to blur everyone. The question is consent and necessity.
Blur people who:
-
You cannot name
-
Did not consent to being posted
-
Are minors
-
Are customers, patients, students, or strangers
-
Are not central to why you are sharing the photo
You can leave clear, consenting friends visible. The goal is not anonymity by default; it is respect for the people who should stay private.
Auto Detection First, Refine Second
For groups of more than a few people, start with automatic face detection.
-
Upload the group photo to Toolbox Image.
-
Let detection mark the faces.
-
Apply blur or pixelate to the detected faces you plan to hide.
-
Switch to the manual brush for anyone detection missed.
This two-stage approach is faster and more reliable than brushing every face from scratch, especially in crowded frames.
Consistency Matters
When you blur several faces, keep the treatment consistent.
| Choice | Why It Helps |
|---|---|
| Same blur strength per row | Looks intentional, not random |
| Same method (blur or pixelate) | Cohesive edit |
| Cover full face shape | Reliable privacy |
| Same margin around faces | Even, professional result |
Mixed strengths can look like a mistake. Pick one approach and apply it across the group.
Step-by-Step Group Workflow
-
Upload the group photo.
-
Run face detection to mark faces.
-
Decide which faces to hide based on consent and necessity.
-
Apply blur or pixelate to each chosen face.
-
Increase strength on close-ups and minors.
-
Manually add any missed faces, including small background figures.
-
Zoom out and scan reflections, screens, and the far background.
-
Download the edited copy.
-
Share the edited version instead of the original.
For a class photo or event shot, this turns a risky image into a safe one in minutes.
Hard Cases
The Face in the Window
Reflections in glass behind the group often show people who were not “in” the photo. Blur them too.
The Stranger in the Background
A person walking past at the edge is still identifiable by someone who knows them. If they are clearly recognizable, blur them.
The Child You Do Not Know
When in doubt about a minor, blur. Children deserve the stronger setting.
The Partly Turned Face
Profile or three-quarter angles still carry identity. Cover the visible face area plus a small margin.
Use Cases
School and Class Photos
Minors need protection. Blur students who lack consent and keep the activity visible.
Workplace and Team Events
Blurring some attendees respects those who prefer not to appear in public posts.
Community and Meetup Photos
Mixed crowds mean mixed expectations. Blur strangers and keep the group spirit.
Marketplace and Real Estate
Group shots of open houses or markets can include unrelated people. Blur them to keep listings clean.
Family Gatherings Shared Publicly
Even family posts can expose relatives who opted out. Blur those who asked not to appear.
Common Mistakes to Avoid
Blurring Only the Front Row
Background faces are easier to identify after zoom. Check every layer of the photo.
Inconsistent Strength
A light blur on one face and a heavy blur on another looks accidental. Standardize.
Missing Reflections
The biggest group-photo leak is often a face in a mirror or window behind the group.
Sharing the Original
Keep the original private. Send or post only the edited copy.
Assuming Small Means Safe
A small face in the background can still be named by someone who knows them. Blur it.
FAQ
Do I need to blur every face in a group photo?
No. Blur the people who did not consent, minors, customers, patients, students, strangers, and anyone not necessary to the story.
Is auto detection reliable for big groups?
It is a strong starting point and catches most faces, including small ones. Always review and add missed faces by hand.
Blur or pixelate for group photos?
Either works. Blur looks softer; pixelate reads as deliberate redaction. Pick one and apply it consistently.
Can people reverse a blurred face?
Assume weak blur can leave clues. Use enough blur that the person is not recognizable at full size, and consider pixelation for sensitive cases.
Should I blur before or after compressing?
Blur first, then use Compress Image Online on the final edited copy if you need a smaller file for sharing.
Final Thoughts
A group photo can be shared without exposing everyone in it. Blur the faces that should stay private, keep the people and moment that matter, and the image becomes safe to post.
Before you publish a group shot, run it through Toolbox Image, decide who to protect, and create a version you can share with confidence.
Related image editing guides
Auto-Detect and Blur Faces in Photos
A step-by-step privacy workflow using automatic face detection before you share images.
Blur Faces Online: A Practical Privacy Guide
Learn how to blur faces online before sharing photos and protect identities in events and social posts.
Blur Child Faces Before Sharing Photos
A practical guide to protecting minors in photos you post online.
Box Select and Freehand Blur
Learn when to use box select blur and freehand selection blur to hide faces and private details.